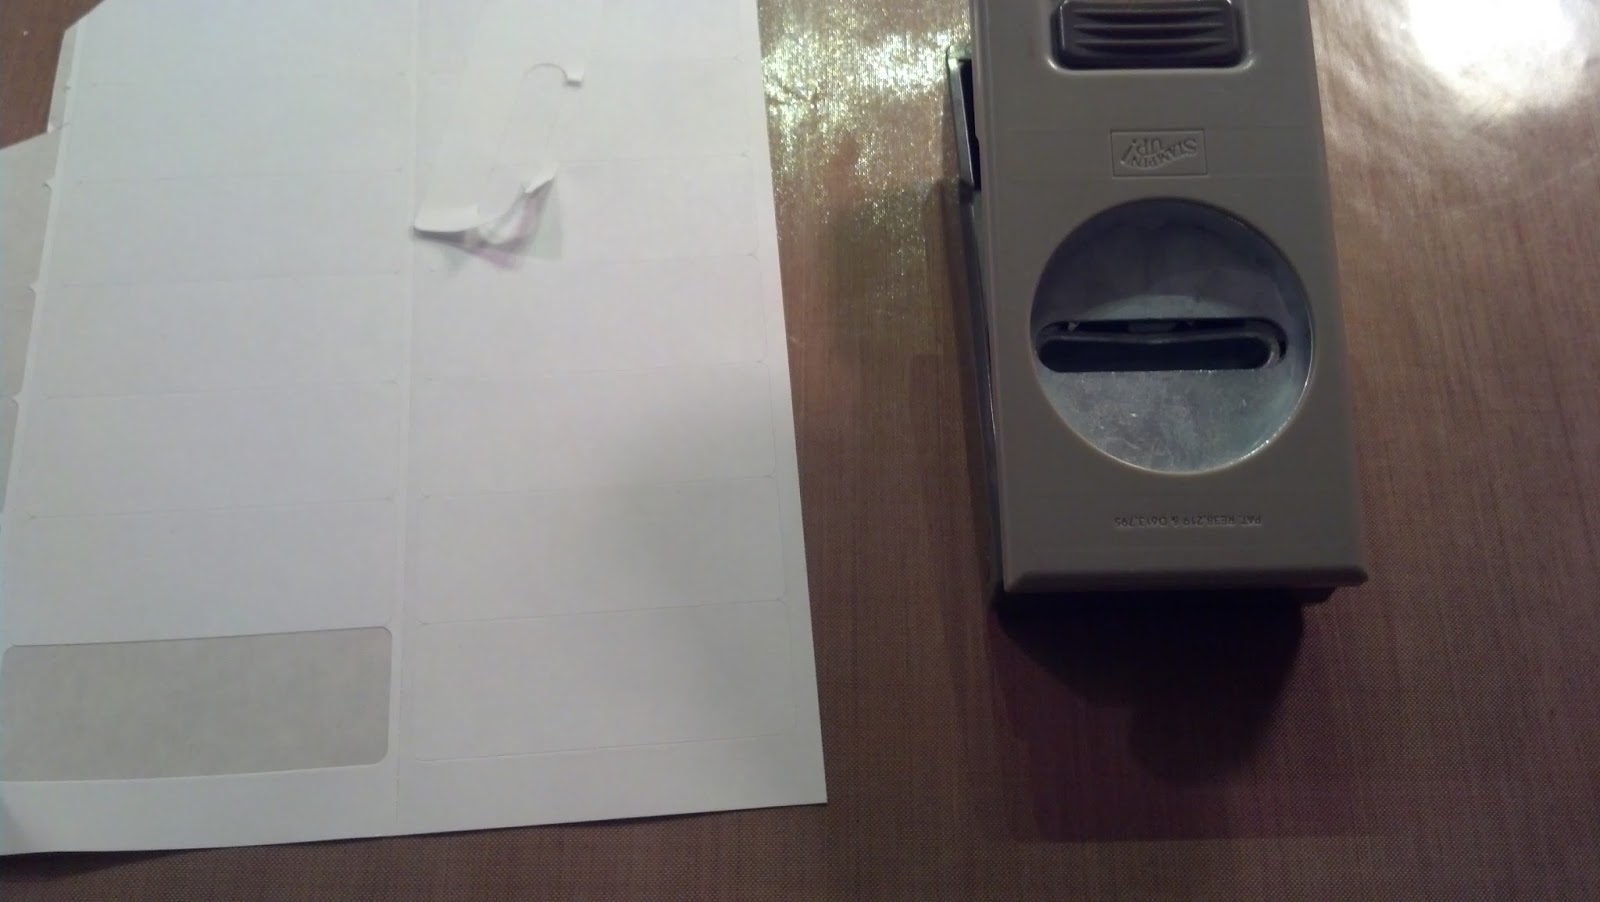
Step 1: Using my Stampin' Up Word Window Punch, I punched out the word windows from an Avery label sheet (so the back side is already sticky). What worked best for me was pulling the label off the sheet first and then placing it in my punch. Trying to get the label backing off of the already-punched word window was not possible or extremely frustrating in the best situation.

Step 2: Place sticky word window on index finger (or any finger of choice depending on mood). ;)

Step 3: Rub color onto the word window (note: you will get inky but that's part of the fun right?!).

Step 4: Place word window on the side of the Distress Ink pad (see how perfectly it fits!)

Step 5: Enjoy your crafty wonderfulness!
No comments:
Post a Comment